Top Composting Mistakes to Avoid for Sustainable Living
Ready to embrace a more sustainable lifestyle in New Zealand? Composting is a fantastic way to reduce waste and enrich your garden, but even the best intentions can go awry. Discover the most common composting mistakes and how to avoid them to ensure your journey to sustainable living is a success.
The Power of Composting: More Than Just Waste Reduction
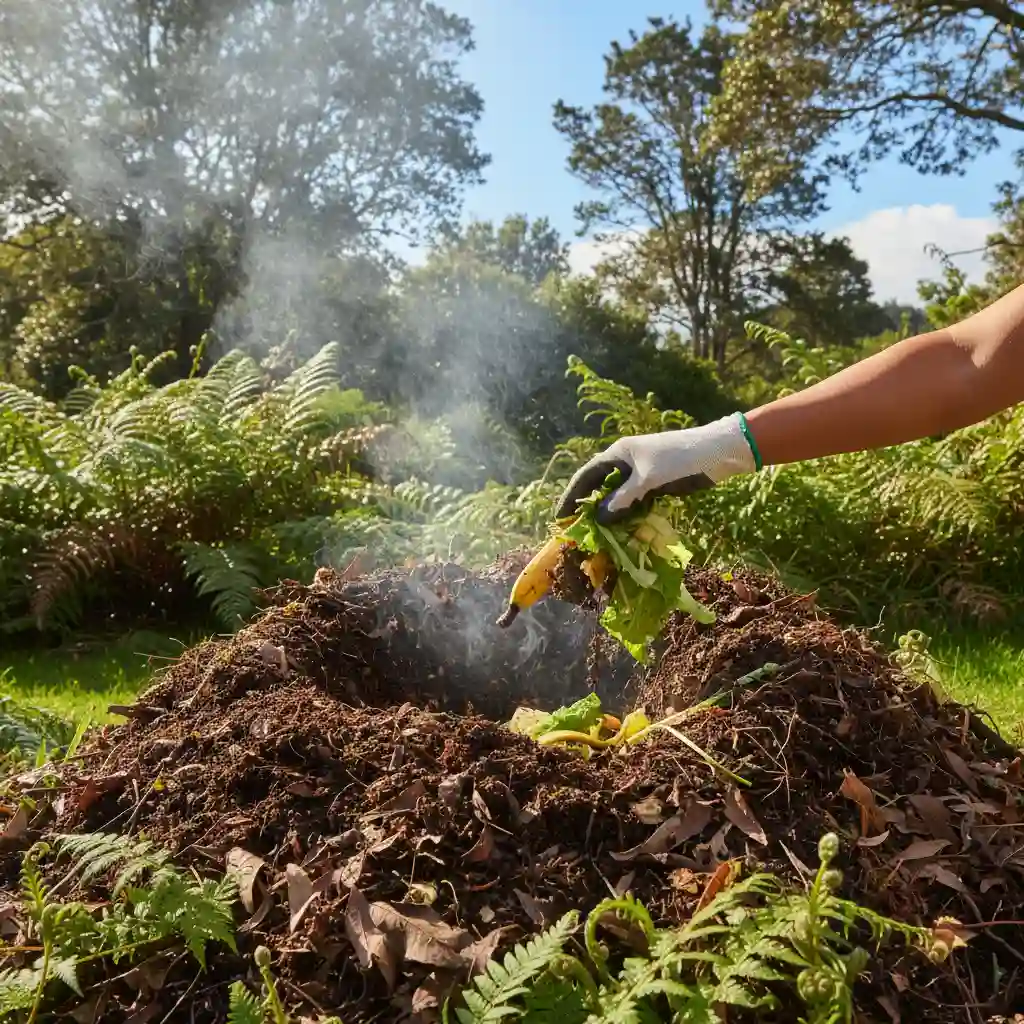
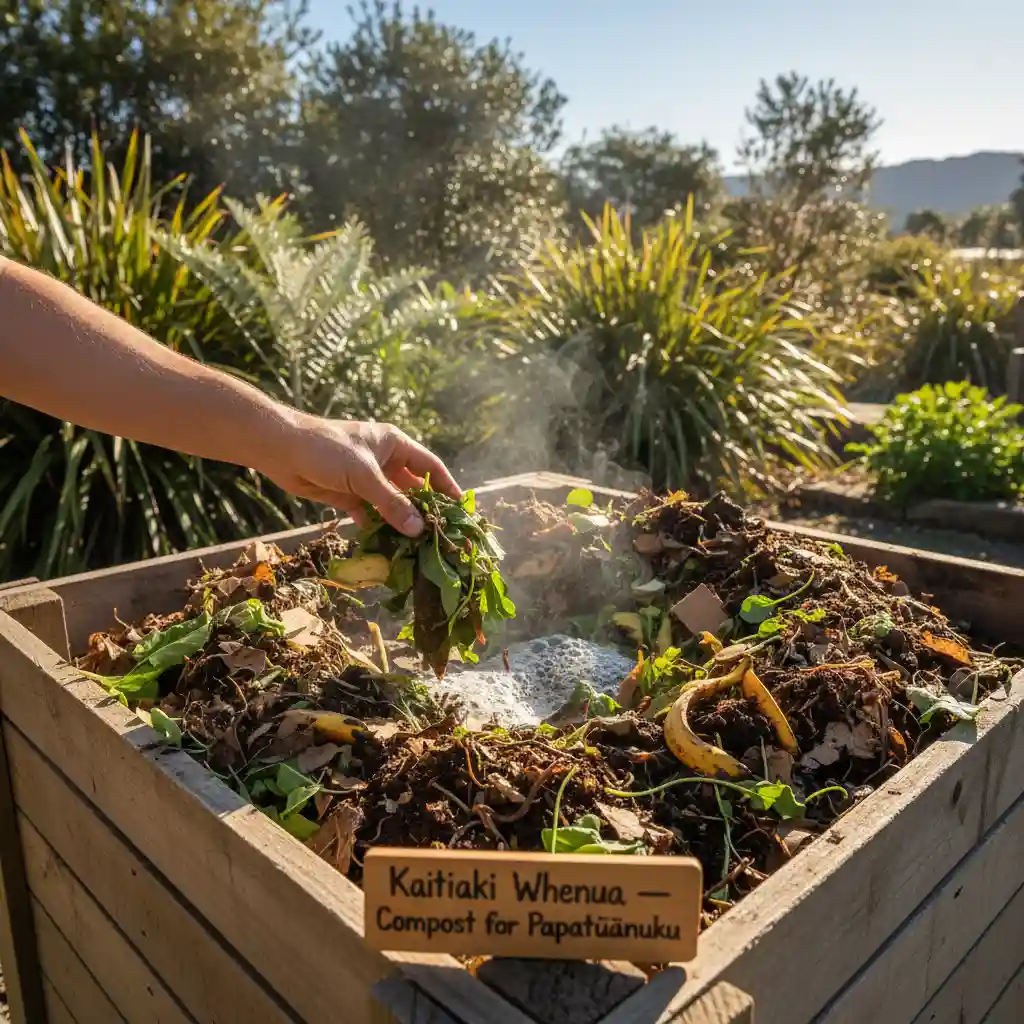
Composting is a cornerstone of sustainable living, transforming organic waste into nutrient-rich soil amendment. For New Zealanders, it’s not just about reducing landfill burden; it’s about fostering healthy soil, conserving water, and creating a vibrant ecosystem right in your backyard. Yet, many aspiring composters stumble, turning what should be a straightforward process into a smelly, frustrating mess.
Understanding the common pitfalls can save you time, effort, and ensure your composting efforts genuinely contribute to a greener Aotearoa. Let’s delve into the top composting mistakes to avoid for sustainable living and equip you with the knowledge to cultivate composting success.
Mistake 1: Not Balancing Greens and Browns
One of the most frequent composting mistakes is failing to understand the critical balance between “greens” (nitrogen-rich materials) and “browns” (carbon-rich materials). Too many greens lead to a slimy, smelly mess, while too many browns result in a dry, slow-to-decompose pile.
How to Achieve the Perfect Green-Brown Balance:
- Understand the Ratio: Aim for a ratio of roughly 2-3 parts brown to 1 part green by volume.
- Identify Your Materials:
Greens: Food scraps (fruit, vegetable peels), grass clippings, fresh leaves, coffee grounds.
Browns: Dried leaves, straw, wood chips, shredded paper, cardboard, sawdust. - Layering Technique: When adding new material, try to layer greens and browns. For instance, add a layer of kitchen scraps, then cover with a layer of dry leaves or shredded paper.
- Monitor and Adjust: If your pile is too wet and smelly, add more browns. If it’s too dry and inactive, add more greens and a splash of water.
Mistake 2: Composting the Wrong Materials
Not everything organic is suitable for your compost bin. Adding the wrong items can attract pests, introduce pathogens, create unpleasant odors, or slow down decomposition. This is a crucial step in avoiding composting mistakes.
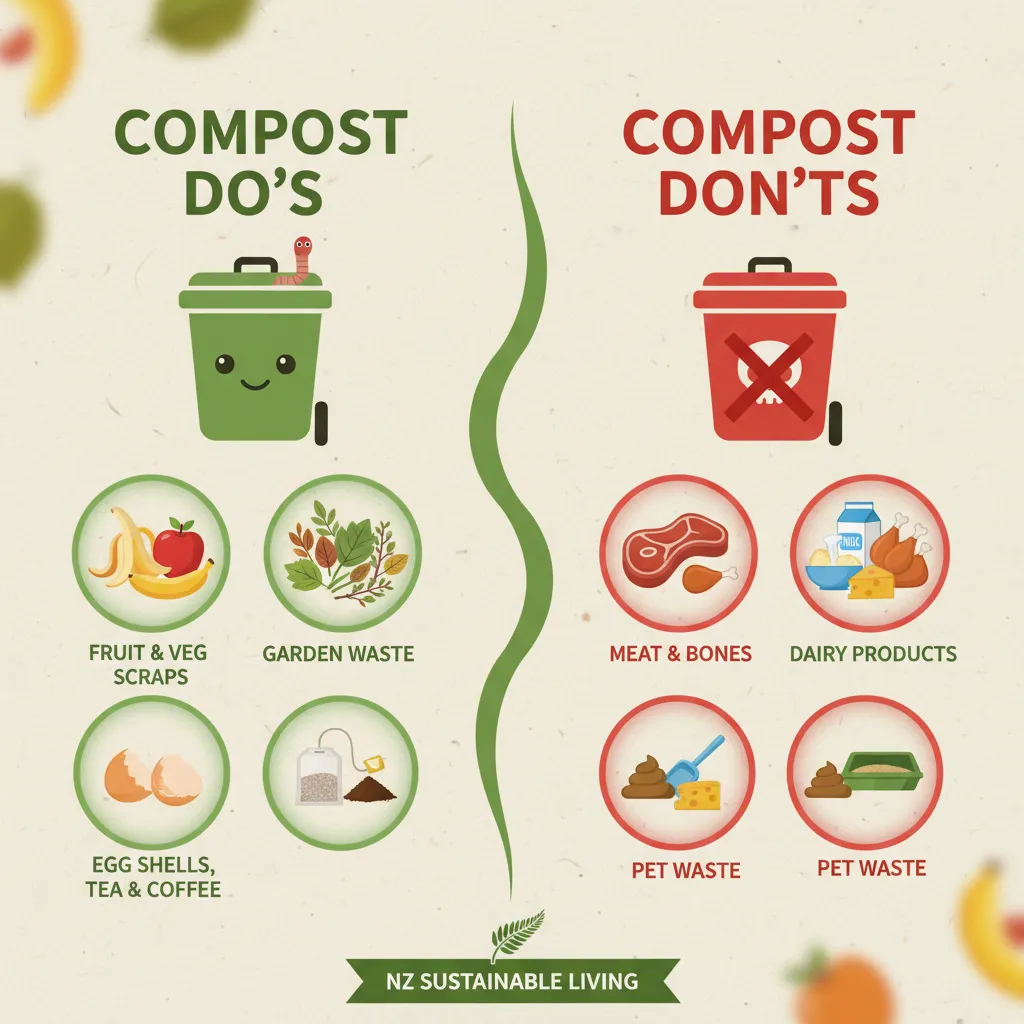
What to Keep Out of Your Compost:
- Meat, Bones, Dairy, and Oily Foods: These attract pests (rats, flies) and can create foul odors.
- Diseased Plants: Pathogens can survive the composting process and spread to your garden.
- Weeds with Seeds: Unless your compost pile gets consistently hot enough, weed seeds can survive and sprout in your garden.
- Pet Waste: Contains harmful pathogens and parasites. (Some specialized hot composting systems can handle herbivore manure, but not typically household pet waste).
- Chemically Treated Wood: Can leach harmful chemicals into your compost.
Mistake 3: Insufficient Aeration
Compost needs oxygen! A lack of aeration is one of the biggest reasons for a slow, smelly, or inactive pile. Anaerobic conditions (without oxygen) lead to putrefaction and the production of methane, a potent greenhouse gas. Regular turning is key to avoiding this common composting mistake.
Keeping Your Compost Breathing:
- Turn Regularly: Aim to turn your compost pile every 1-2 weeks using a pitchfork or compost aerator. This introduces oxygen and mixes the materials.
- Layer Coarse Materials: When building your pile, include some coarser brown materials like wood chips or straw to create air pockets.
- Don’t Compact: Avoid pressing down on your compost. You want it to be loose and airy.
- Consider Your Bin Type: Tumbler composters naturally provide good aeration with minimal effort. Static bins require manual turning.
Mistake 4: Incorrect Moisture Levels
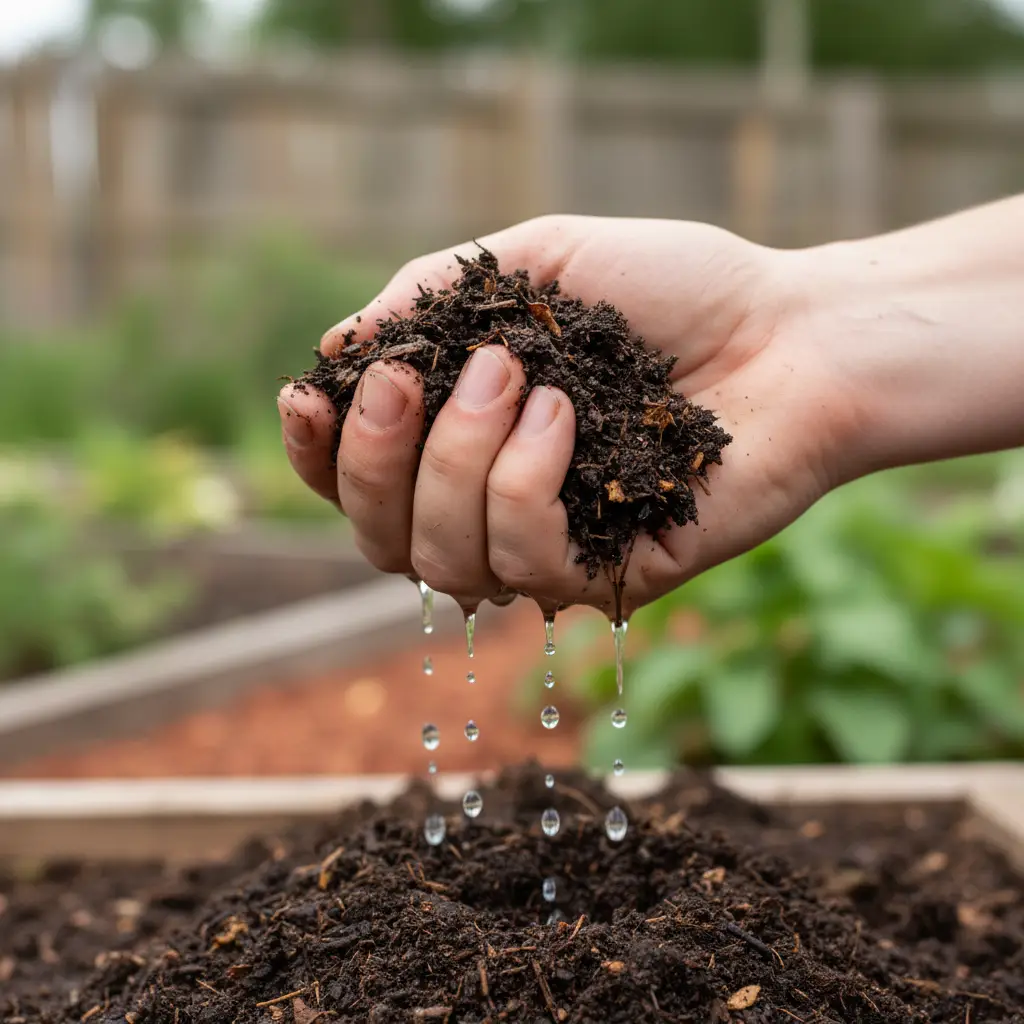
The ideal compost pile is like a wrung-out sponge – moist, but not soaking wet. Too much water displaces oxygen, leading to anaerobic conditions. Too little water slows down microbial activity, bringing the decomposition process to a halt.
Achieving Optimal Moisture:
- The Squeeze Test: Grab a handful of compost. If a few drops of water emerge, it’s perfect. If it’s bone dry, add water. If it gushes, it’s too wet.
- Add Water Gradually: If your pile is dry, moisten it with a watering can as you turn it. Don’t drench it.
- Drainage is Key: Ensure your compost bin has adequate drainage to prevent waterlogging, especially in rainy New Zealand climates.
- Cover in Wet Weather: Use a tarp or lid during heavy rain to prevent the pile from becoming waterlogged.
Mistake 5: Impatience and Expecting Instant Results
Composting is a natural process, and nature rarely rushes. Many new composters get discouraged when their pile doesn’t transform into beautiful compost overnight. While hot composting can be quicker, most home systems take several weeks to a few months.
“Composting is not just a method of waste disposal; it’s a testament to patience and the cyclical beauty of nature.”
Fostering Patience in Your Composting Journey:
- Understand the Timeline: A well-managed hot compost pile can produce usable compost in 3-4 weeks. A slower, passive cold compost pile might take 3-6 months or even a year.
- Observe, Don’t Obsess: Regularly check moisture and aeration, but trust the microbes to do their work.
- Start a New Pile: If you have enough space, consider having two piles: one maturing, and one for active additions.
- Enjoy the Process: See it as contributing to a sustainable cycle, not just waiting for an outcome.
Your Sustainable Composting Checklist:
- ✅ Balance Greens (Nitrogen) and Browns (Carbon)
- ✅ Exclude Meat, Dairy, Oils, Diseased Plants, and Pet Waste
- ✅ Turn Your Pile Regularly for Aeration
- ✅ Maintain Consistent Moisture (Like a Wrung-Out Sponge)
- ✅ Be Patient and Trust the Natural Process
- ✅ Educate Yourself on What to Compost in New Zealand
Embrace Composting for a Greener New Zealand
Composting is a powerful, yet often misunderstood, tool for sustainable living. By understanding and actively avoiding these common composting mistakes, you’re not just creating fantastic soil amendment; you’re actively participating in a circular economy, reducing your ecological footprint, and contributing to a healthier environment in Aotearoa.
Embrace the journey, learn from any minor setbacks, and soon you’ll be enjoying the rich rewards of your composting efforts. Happy composting!
Frequently Asked Questions About Composting
What makes my compost pile smell bad?
A foul smell usually indicates too many “greens” (nitrogen-rich materials) or too much moisture, leading to anaerobic conditions. To fix it, add more “browns” (carbon-rich materials like dry leaves or shredded paper) and turn the pile to aerate it.
How long does it take for compost to be ready?
The time varies greatly depending on the method and materials. A hot compost pile, turned regularly and with the right balance, can be ready in 3-4 weeks. A passive, cold compost pile can take 3-6 months or even up to a year.
Can I compost citrus peels and onion skins?
Yes, you can compost citrus peels and onion skins. However, in large quantities, they can slow down decomposition due to their acidity and strong anti-microbial properties. Chop them into smaller pieces to help them break down faster.
What does finished compost look like?
Finished compost is dark brown, crumbly, and has an earthy smell. You shouldn’t be able to distinguish the original materials anymore, though some larger woody pieces might remain. It should resemble rich garden soil.
Do I need a special compost bin?
Not necessarily! While specialized bins (tumblers, worm farms, three-bin systems) can optimize the process, you can start composting with a simple pile in your backyard, a DIY bin made from pallets, or even a basic plastic container with drainage holes. The key is to manage your materials correctly.
References & Further Reading
- Ministry for the Environment. (2022). Reducing and reusing waste in New Zealand. Retrieved from environment.govt.nz
- Compost Collective (New Zealand). Composting Troubleshooting Guide. Retrieved from compostcollective.org.nz
- Gardening Know How. Composting Do’s and Don’ts. Retrieved from gardeningknowhow.com
- Rodale Institute. The Basics of Composting. Retrieved from rodaleinstitute.org