Fun DIY Upcycling Projects for Kids: Creative & Sustainable Play
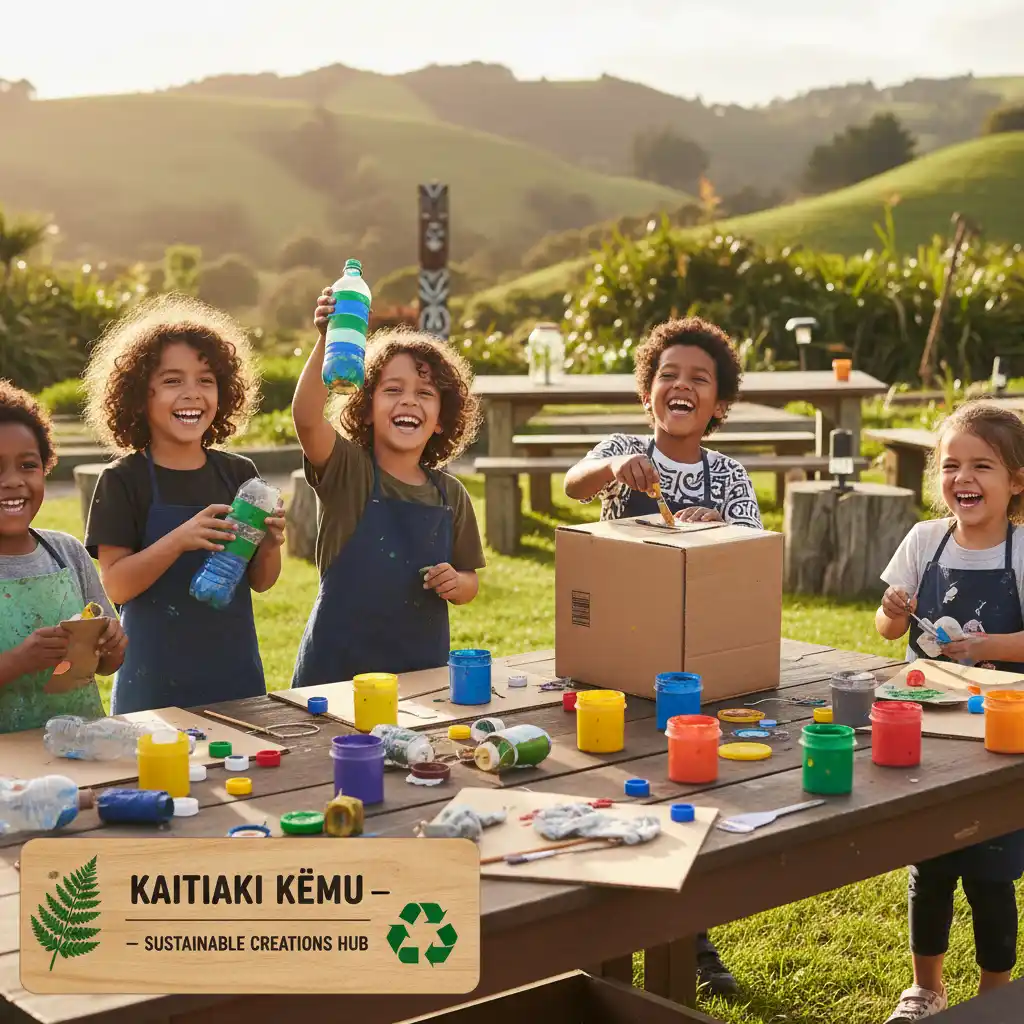
In Aotearoa, the spirit of kaitiakitanga — guardianship of the land — guides our approach to the environment. What better way to introduce our tamariki to this vital concept than through creative play? Upcycling isn’t just about reducing waste; it’s about transforming forgotten items into treasures, sparking imagination, and fostering a deep appreciation for our planet. Dive into these fun DIY upcycling projects for kids and watch their creativity blossom while building a sustainable future.
From humble toilet paper rolls to discarded plastic bottles, the potential for playful invention is endless. These activities are designed to be engaging, educational, and most importantly, incredibly fun for children of all ages, helping them understand the power of creative reuse right from home.
Table of Contents
1. Why Upcycle? Benefits for Kids & Planet
Upcycling is more than just a craft; it’s a powerful educational tool. When children engage in these fun DIY upcycling projects, they’re not just making something pretty; they’re developing crucial skills and contributing positively to the environment.
- Boosts Creativity & Imagination: Kids learn to see potential in discarded items, transforming them through imaginative thinking.
- Develops Problem-Solving Skills: Figuring out how to turn a bottle into a bird feeder requires critical thinking and adaptation.
- Enhances Fine Motor Skills: Cutting, gluing, painting, and assembling all contribute to developing dexterity.
- Teaches Environmental Responsibility: They learn about waste reduction and the importance of resource conservation firsthand.
- Fosters Patience & Persistence: Some projects take time, teaching kids the value of seeing a task through.
“New Zealanders send over 2.5 million tonnes of waste to landfill each year. Engaging children in upcycling can help shift this paradigm, fostering a generation that values resources and actively seeks creative reuse.”
2. Safety First! Essential Upcycling Tips
While creativity is key, safety is paramount, especially when working with young children. Always supervise your kids during these fun DIY upcycling projects.
- Adult Supervision: Essential for all projects, particularly those involving cutting or hot glue.
- Clean Materials: Ensure all ‘waste’ items are thoroughly cleaned and free of sharp edges or residues.
- Non-Toxic Supplies: Use child-safe paints, glues, and markers.
- Appropriate Tools: Provide age-appropriate scissors (e.g., blunt-nosed for younger kids) and demonstrate safe handling.
- Ventilation: Work in a well-ventilated area, especially when using sprays or strong glues.
3. Easy Upcycling Projects for Little Hands
These beginner-friendly fun DIY upcycling projects are perfect for introducing younger children to the magic of transformation with simple household items.
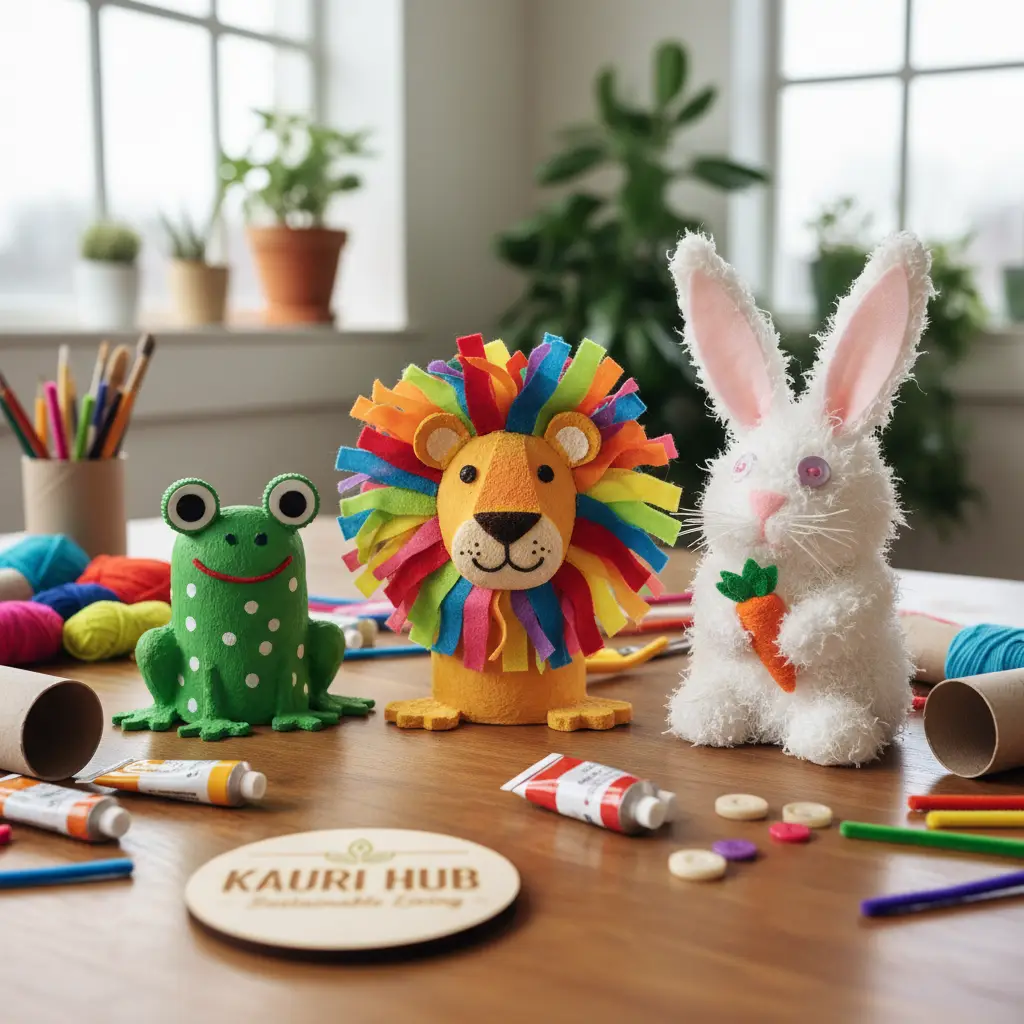
3.1. Toilet Paper Roll Critters
Transform empty toilet paper or paper towel rolls into an entire zoo of animals! A truly classic and endlessly versatile upcycling craft.
What You’ll Need:
- Empty toilet paper rolls
- Paints, markers, or crayons
- Construction paper or felt scraps
- Googly eyes (optional)
- Child-safe glue or tape
- Scissors (adult supervision)
Steps:
- Clean & Prep: Ensure rolls are clean and dry.
- Paint the Body: Paint or colour the roll to be the main body of your chosen animal (e.g., green for a frog, brown for a bear). Let dry.
- Add Features: Cut ears, wings, or limbs from construction paper/felt. Draw on faces with markers.
- Assemble: Glue or tape the features onto the roll. Add googly eyes for extra character.
- Play: Create multiple critters and put on a puppet show!
3.2. Plastic Bottle Planters
Give plastic bottles a new lease on life as charming planters for herbs or small flowers. This project introduces kids to gardening and responsible waste management.
What You’ll Need:
- Empty plastic drink bottles (2L or 1.5L)
- Scissors or craft knife (adult use only for cutting bottle)
- Paints suitable for plastic, markers
- Soil
- Seeds or small plant cuttings
Steps:
- Clean & Cut: Thoroughly wash and dry the bottle. An adult should carefully cut the bottle in half or cut out a section to create an opening. Ensure no sharp edges remain.
- Decorate: Kids can paint and decorate the exterior of the bottle, turning it into a character or a colourful design.
- Drainage: Punch small drainage holes in the bottom (adult help).
- Plant: Fill with soil and plant seeds or small cuttings. Water gently.
- Watch it Grow: Place in a sunny spot and observe the plant’s growth, linking it to the concept of nurturing and sustainability.
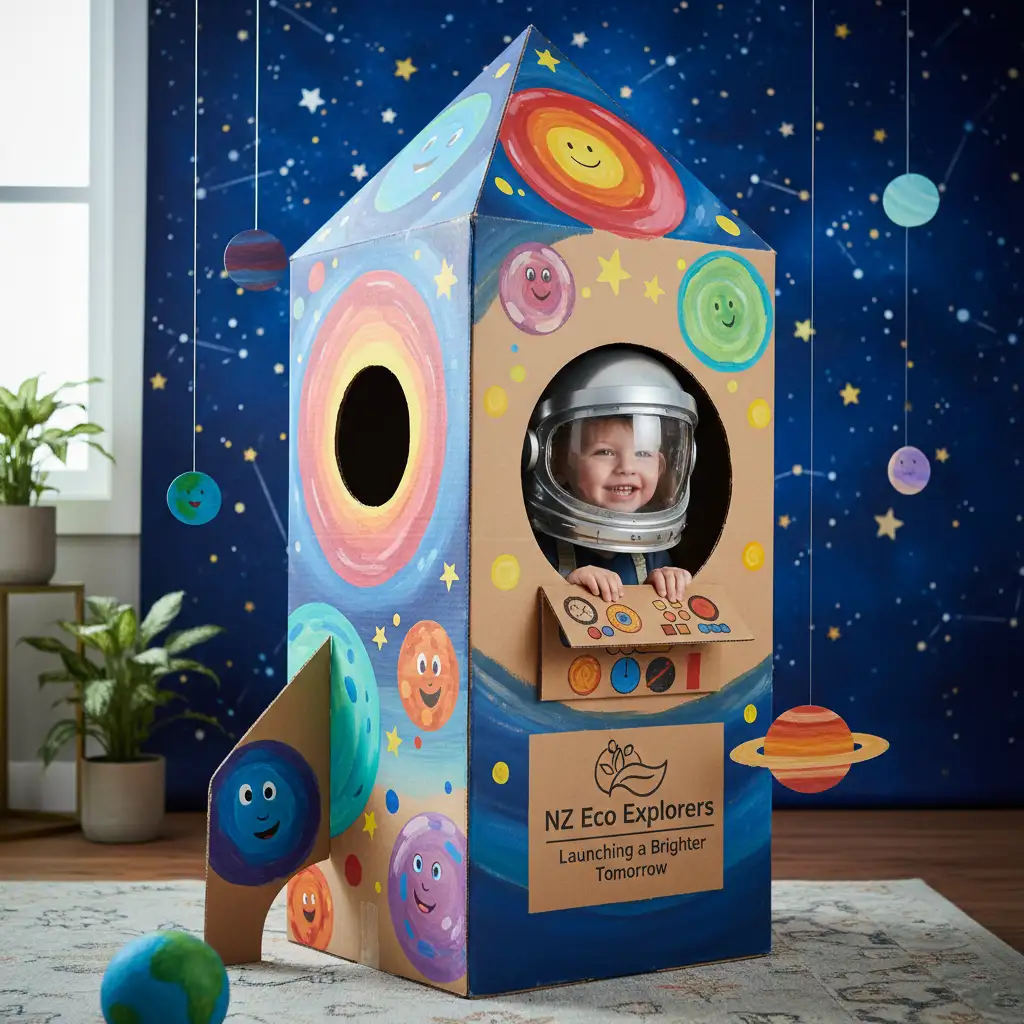
3.3. Cardboard Box Creations
The humble cardboard box offers limitless possibilities for large-scale, imaginative play. From spaceships to dollhouses, these are some of the most engaging fun DIY upcycling projects.
What You’ll Need:
- Large cardboard boxes (delivery boxes work great)
- Child-safe paints, markers, crayons
- Tape, glue, or stapler (adult use)
- Additional decorative items: bottle caps, fabric scraps, aluminum foil
Steps:
- Brainstorm: Decide what to create – a car, a house, a robot, a tunnel?
- Construct Base: An adult helps cut and tape/glue boxes together to form the basic structure.
- Decorate: Let children go wild with paints, markers, and adding details. Windows, doors, control panels, wheels – anything goes!
- Add Details: Use bottle caps for buttons, foil for shiny parts, or fabric scraps for curtains.
- Playtime: Step inside their new creation and enjoy hours of imaginative play.
4. Advanced Upcycling Projects for Older Kids
For older children (8+) or those with more developed fine motor skills, these fun DIY upcycling projects offer a greater challenge and a chance to create truly useful items.
4.1. No-Sew T-Shirt Tote Bags
Turn old, outgrown t-shirts into stylish and functional tote bags. This project teaches basic fabric manipulation without needing a sewing machine, making it a perfect eco-friendly accessory.
What You’ll Need:
- Old T-shirt
- Fabric scissors (sharp)
- Ruler or straight edge
- Marker or chalk
Steps:
- Prepare T-shirt: Lay the t-shirt flat. Smooth out any wrinkles.
- Cut Neckline & Sleeves: Cut off the neckline ribbing and both sleeves close to the seam. These will form the bag’s opening and handles.
- Create Fringe: Cut off the bottom hem. Then, cut 1-inch wide strips up about 3-4 inches from the bottom edge of the shirt. These will be your fringe.
- Tie Knots: Take matching front and back fringe strips and tie them together in a double knot. Work your way across the entire bottom of the shirt, ensuring there are no gaps.
- Decorate (Optional): Use fabric paints or markers to add designs to your new tote bag.
- Use: Perfect for library books, beach trips, or groceries!
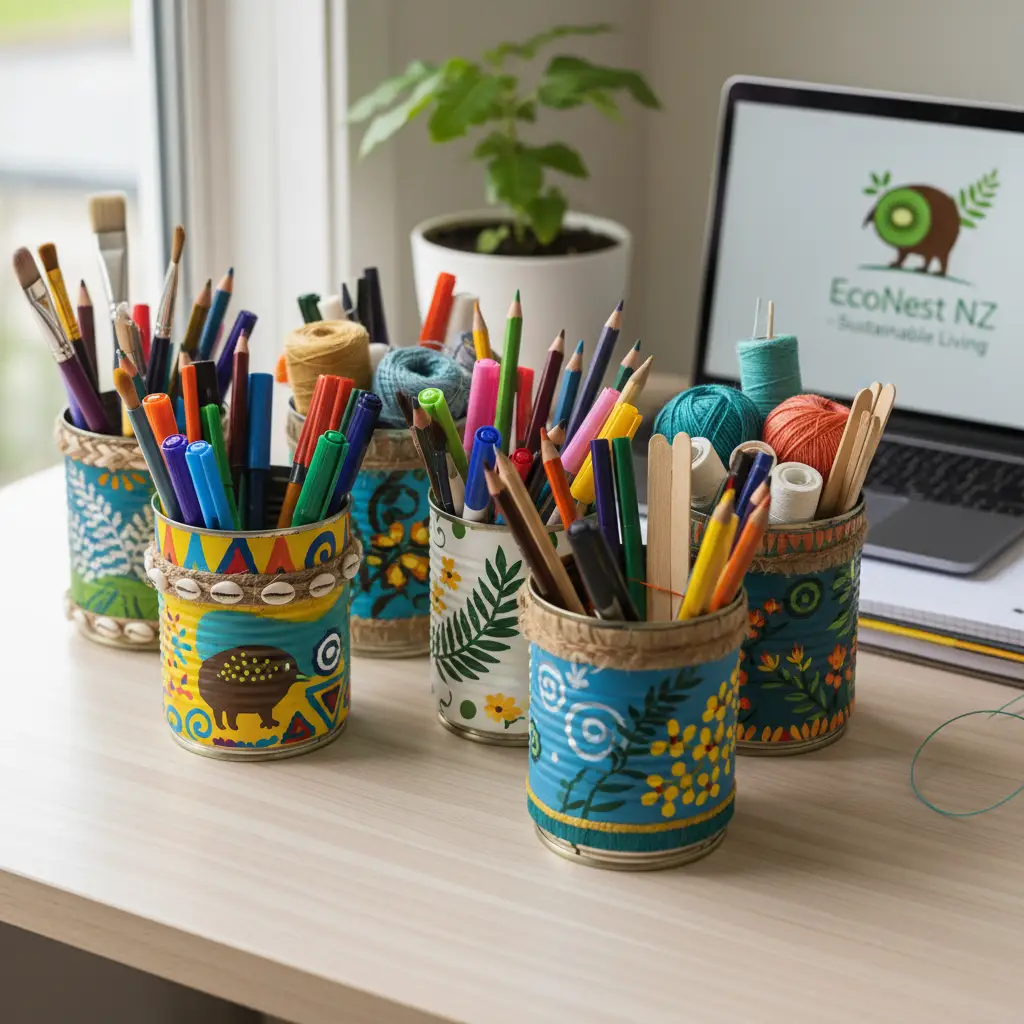
4.2. Decorative Tin Can Desk Organisers
Empty tin cans can be transformed into vibrant, personalised desk organisers for pens, pencils, and craft supplies. This is one of the practical fun DIY upcycling projects that helps keep spaces tidy.
What You’ll Need:
- Empty tin cans (various sizes, labels removed, washed)
- Sandpaper (fine-grit)
- Acrylic paints and brushes
- Mod Podge or craft glue
- Fabric scraps, decorative paper, yarn, buttons, glitter
Steps:
- Prepare Cans: Ensure cans are clean and dry. Gently sand any sharp edges if present (adult supervision!).
- Prime & Paint: Apply a base coat of acrylic paint if desired. Once dry, let kids paint creative designs, patterns, or characters onto the cans.
- Decorate: Once paint is dry, use glue to attach fabric scraps, decorative paper, yarn, or buttons. Apply Mod Podge over paper/fabric for durability.
- Dry: Allow everything to dry completely.
- Organise: Use the finished cans to tidy up desks, craft areas, or bathrooms.
5. Tips for a Successful Upcycling Session
To make your fun DIY upcycling projects a joyous and rewarding experience for everyone, keep these tips in mind:
- Gather Supplies in Advance: Have all materials ready before starting to keep momentum.
- Set Up a Dedicated Space: Cover surfaces with newspaper or an old sheet to protect them from spills.
- Embrace Imperfection: Remind children (and yourself!) that upcycling is about creativity, not perfection.
- Encourage Experimentation: Let kids try different materials and techniques; sometimes the unexpected yields the best results.
- Involve Them in Cleanup: Teach responsibility by having them help put away supplies and tidy the workspace.
- Celebrate Their Creations: Display their finished projects proudly to boost their confidence and enthusiasm.
6. Encouraging a Sustainable Mindset
Beyond the immediate fun of crafting, these fun DIY upcycling projects are opportunities to instil deeper values. Discuss with your children where materials come from, what happens to waste, and how their actions make a difference. Connect upcycling to broader New Zealand environmental initiatives and the importance of caring for our unique natural environment.
By actively participating in creative reuse, kids learn that resources are finite and that imagination can turn potential waste into something valuable. This foundational understanding is key to nurturing responsible global citizens who will champion sustainable practices throughout their lives.
7. Conclusion
Engaging in fun DIY upcycling projects for kids offers a win-win scenario: it provides hours of creative entertainment and educates children about sustainability in a hands-on, memorable way. As a nation committed to preserving its stunning landscapes, fostering this mindset in our children is invaluable.
So, gather your ‘waste’, ignite your imagination, and embark on a journey of creative reuse with your tamariki. You’ll not only create wonderful memories and unique treasures but also empower the next generation of kaitiaki to build a greener, more sustainable Aotearoa.
8. Frequently Asked Questions (FAQ)
What is upcycling?
Upcycling is the process of transforming discarded items or waste materials into new products of higher quality or environmental value. Unlike recycling, which breaks down materials, upcycling gives them a new purpose in their existing form, often enhancing their aesthetic or practical value.
What age are these upcycling projects suitable for?
Many of the ‘easy’ projects (like toilet paper roll critters, plastic bottle planters, cardboard box creations) are suitable for children aged 3-7 with adult supervision. The ‘advanced’ projects (t-shirt totes, tin can organisers) are better for children aged 8+ due to the need for more precision and dexterity.
What are the best materials to save for upcycling?
Excellent upcycling materials include cardboard boxes, toilet paper/paper towel rolls, plastic bottles, tin cans, old clothes (especially cotton t-shirts), bottle caps, plastic lids, newspapers, magazines, and even natural items like pinecones or sticks. Always ensure materials are clean and safe to use.
How can I encourage my child to upcycle more?
Make it a regular activity, perhaps having a ‘craft day’ once a week. Keep a designated ‘upcycling bin’ where they can collect clean, safe items. Read books about recycling and sustainability, visit local eco-friendly markets, and always celebrate their creative efforts, no matter how simple.
9. References & Sources
- Ministry for the Environment. (n.d.). Waste and recycling in New Zealand. Retrieved from https://environment.govt.nz/waste-and-recycling/ (Example, actual URL may vary)
- The New Zealand Curriculum. (2007). Technology. Learning Media Ltd.
- Kaitiakitanga: Guardianship and Conservation in New Zealand. (n.d.). In Te Ara – The Encyclopedia of New Zealand. Retrieved from https://teara.govt.nz/en/kaitiakitanga (Example, actual URL may vary)
- The Upcycle. (n.d.). The Benefits of Upcycling. Retrieved from https://www.theupcycle.co.nz/benefits (Example, actual URL may vary)